TL;DR
When a Revit formula fails, the error message rarely tells you which part is wrong. The correct approach is systematic: strip the formula back to its simplest working state, then add complexity one step at a time until the error reappears. That last addition is the problem. This method works for every formula type — arithmetic, conditional, trigonometric, and lookup.
Key Takeaways
- ✓Revit error messages are vague — the message tells you something is wrong, not where.
- ✓Binary isolation is the core technique: split the formula in half, test each half separately.
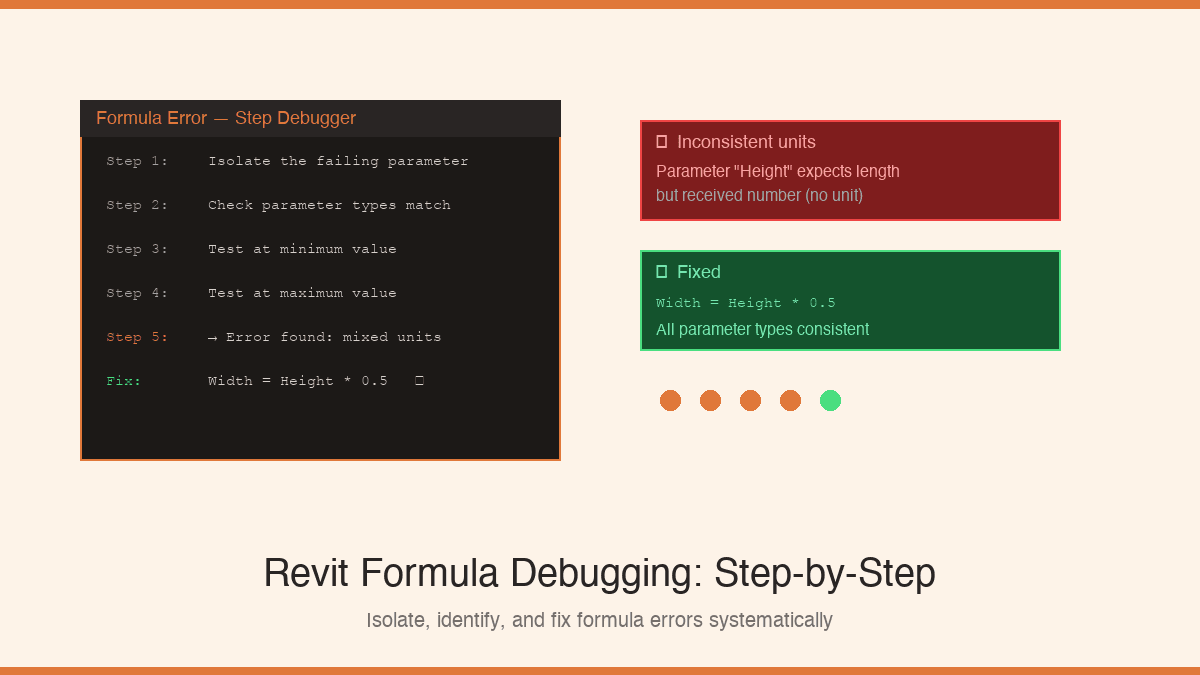
- ✓Mixed parameter types (length vs. number vs. angle) cause the majority of formula errors.
- ✓A formula that works at the default value but fails at min or max is still a broken formula.
- ✓Temporary helper parameters let you test sub-expressions without touching the live formula.
- ✓The abs() wrapper fixes negative-dimension errors that crash families silently.
Why Revit Formula Errors Are Hard to Debug
Most programming environments tell you exactly where an error occurred — a line number, a stack trace, a variable name. Revit does not. When a formula fails, the error dialog says something like “The formula for parameter Width is inconsistent.” It does not tell you which part of the formula is inconsistent, or why.
This forces most users into trial-and-error: change something, click OK, see if the error disappears. When the formula has five nested conditions, this process can take an hour and still not find the root cause.
There is a better method.
The Core Technique: Binary Isolation
Binary isolation means cutting the problem in half. Instead of testing the full formula, you split it and test each half separately. Whichever half produces the error contains the problem. You split that half again. Repeat until the failing sub-expression is a single operation.
In practice, you do this using temporary parameters. Create a new instance parameter (any name — “Debug_Test” works) and paste half the formula into it. If it errors, the problem is in that half. If it does not, the problem is in the other half.
This sounds slow. It is not. A formula with 10 nested conditions takes at most 4 tests to isolate the exact failing operation. Trial-and-error on the same formula might take 20.
Step-by-Step Debugging Process
Step 1 — Read the Full Formula Before Touching Anything
Before making any changes, copy the formula to a text editor. Read it slowly. Look for:
- Parameters that appear in the formula but might have been renamed or deleted
- Mixed unit types (a length parameter multiplied by a plain number without units)
- Nested IF conditions that reference each other
- Closing parentheses that do not match opening ones
Many errors are visible on a careful read. Fix these first before testing anything.
Step 2 — Simplify to the Minimum Working State
Replace the formula temporarily with its simplest possible version — just the default value. If the parameter is a length, set it to a fixed value like 600mm. Click OK. If this errors, the problem is not in the formula at all — it is in the parameter definition itself (check the parameter type and discipline).
Once the simplified version works, you have confirmed the parameter is valid. Now you can add complexity back in stages.
Step 3 — Add One Operation at a Time
Add back the simplest part of the original formula first. Test. If it works, add the next part. The moment it errors, the last addition is the problem.
For a formula like:
Start with just the innermost expression: Width * 0.5. If that works, add the outer IF. If the outer IF errors, the conditionType = "A" is the problem — check that Type is a text parameter and that the string value matches exactly (Revit string comparisons are case-sensitive).
Step 4 — Use Temporary Debug Parameters
When the formula is complex enough that you cannot easily split it in place, create a temporary instance parameter named something like Debug_A. Paste half the sub-expression into it. Test. Delete when done.
This is especially useful for lookup table formulas where the error might be in the input parameter, the CSV file, or the output column name — three separate things to test independently.
Step 5 — Test at Boundary Values
A formula that works at the default value is not necessarily correct. Always test at:
- Minimum value — especially if the formula involves division (dividing by zero is a common crash)
- Maximum value — especially for geometric families where large values can produce negative intermediate results
- Zero — some functions (like
atan()) behave unexpectedly at zero
If the family breaks at a boundary value but not the default, wrap the problematic expression in abs() or add an IF guard:
The Four Most Common Formula Errors
1. Inconsistent Parameter Types
Revit is strict about parameter types. You cannot add a length to a plain number. You cannot compare an angle to a length. The fix: make sure every parameter in the formula has the correct type, and that any constants have explicit units where required.
✓ Width = Height + 50mm (explicit unit)
2. Negative Dimensions
Revit will not accept a negative length dimension. If a formula can produce a negative result under any input combination, the family will crash. Wrap the output inabs():
3. Case-Sensitive String Comparisons
IF conditions that compare text values are case-sensitive. “Concrete” and“concrete” are not equal. If users type the value manually, establish a controlled list using a shared parameter with dropdown values, not a free-text field.
4. Circular References
Parameter A drives Parameter B, which drives Parameter A. Revit detects these and throws an error immediately. The fix is to identify which parameter should be the driver and which should be the derived value — one of them must be a formula, the other must be a user-input value. They cannot both be formulas pointing at each other.
A Debugging Checklist
Run through this list before spending more than five minutes on any formula error:
- Do all parameter names in the formula match their current names exactly?
- Do all parameters have the correct type (length, number, angle, Yes/No, text)?
- Do all numeric constants have explicit units where the formula expects a length or angle?
- Are all string comparisons using the exact same capitalisation as the parameter values?
- Does every opening parenthesis have a matching closing parenthesis?
- Does the formula produce a valid (non-negative) result at the minimum parameter value?
- Is there a circular reference between two or more parameters?
Formula debugging is covered as a full chapter in Mastering Revit Family Formulas— including a worked example of each error type, a printable debugging checklist, and the systematic isolation method applied to a real complex family. If you want to understand why formulas work the way they do before diving into debugging, start with why every BIM professional should master Revit family formulas. For handling large numbers of variations without nested IF chains, see how to use CSV lookup tables in Revit families.
Never guess again
Chapter 10: Debugging Under Pressure — Full Method
Printable checklist. Worked examples. Every error type covered. In the complete bundle.